Sharing my live virtual chalkboard while online teaching using Zoom.
But the big test was this morning. Giving a two hour lecture to my General Relativity class where we were really not all in the same room, but scattered over the campus and city (and maybe beyond), while being able to maintain a live play-by-play working environment on the board, as opposed to just showing slides. Showing slides (by doing screen-sharing) is great, but for the kind of physics techniques I’m teaching, you need to be able to show how to calculate, and bring the material to life – the old “chalk and talk” that people in other fields tend to frown upon, but which is so essential to learning how to actually *think* and navigate the language of physics, which is in large part the diagrams and equations. This is the big challenge lots of people are worried about with regards going online – how do I do that? (Besides, making a full set of slides for every single lecture you might want to do For the next month or more seems to me like a mammoth task – I’d not want to do that.)
So I’ve arrived at a system that works for me, and I thought I’d share it with those of you who might not yet have found your own solution. Many of the things I will say may well be specific to me and my institution (USC) at some level of detail, but aspects of it will generalize to other situations. Adapt as applies to you.
Do share the link to this page with others if you wish to – I may well update it from time to time with more information.
Here goes:
- First and foremost, let me say that the conferencing/meeting software I’m using is Zoom. You can use it independently, or it might be that there is an institutional account/hub at your institution. USC has set things up so that all faculty and students automatically have Zoom accounts, and it takes but a few minutes to activate it with your USC userid. I actually have encouraged students to log in to zoom using the same route too. That means when they show up in the scheduled meeting/class, I can see their name (so I can call on them if they have questions), and also (if it is a concern) check that there are no random people participating.
- I’m not going to go into the how and why of zoom, and how to set it up. And of course there are other things besides zoom available. You can look into that yourself, and read the how to guides that maybe your own institution have set up. (USC’s IT services – as well as the Center for Teaching Excellence – made some really nice guides – I don’t know if they are available outside USC but google for them to see.) When I set up the class as a recurring scheduled meeting, I have it that everyone who joins is muted by default. This cuts down on noise for everyone, accidental over-sharing, etc. With a class of 22, it is still small enough that It is not too disruptive that people can unmute themselves in order to ask a question if I don’t see that there’s a hand raised.If you class is much bigger, you might want to use a different way of managing questions/interaction. (There is a “raise a hand” tool that they can see, and you can keep a window open that can show who has raised hands.)
- I’ve actually encouraged everyone in the online class to turn on their cameras, after reminding them to be mindful of what their camera is seeing. The idea here is that it is a really tough time for everyone right now, we are all anxious of what is to come. We have to cut ourselves off from the world somewhat. So finding ways to share community is important, even if we can’t do it in person. Being able to see each other is an important way to start feeling less alone and cut off. I’ve made it optional, but I was happy to see that nearly everyone took the opportunity to show their faces.
- Ok, so what’s my setup? First let me say that it is completely feasible to set up your laptop so that it points to a portion of a chalkboard or whiteboard, and simply give a lecture at the board the usual way. (I say this because not everyone has iPads or other tablets.) But you will have to use less of the board (mark out the edges of what can be seen to remind you as you go), and make sure that you’re not getting reflections from overhead lights, by having the camera as head-on as possible. Also, I found that a whiteboard has better contrast than a chalkboard, and so shows up better on screen. I recommend that you wear, connected to the laptop, the hands-free microphone and headphones you might have for your phone. The students will hear you better as you move around, without you having to shout, and you will hear them more easily too. A shouty lecture is not ideal.
- Another Tablet-free option is to make notes as you usually do, and then bring them onto your computer (scan to pdf for example) and make live annotations, using the mouse or trackpad. You don’t need to be able to write on screen for that…. just making marks or pointing might be enough.
- But let me move to tablets. Being able to write and draw as freely as I do in a real lecture is important to me, and so a tablet of some sort with a decent writing implement is crucial for that (unless I’m pointing the camera at a board – see above.) I use an ipad pro, with an Apple pencil. (I’ve been using mine for many years, so writing and drawing on it is already familiar to me. I use it for taking notes in seminars, I used it for drawing and painting parts of my book, the Dialogues, and so forth.) Actually, what tablet you use does not really matter. You just want to be able to make marks comfortably and legibly for 1 or 2 hours so that you can give a lecture of the kind I’ve been talking about. What matters most is what you run on it.
- Actually, within the screen-sharing options list, you’ll see whiteboard (in zoom anyway). That’s a good option, and in fact I used that in my earliest tests and rather liked it. The students just see a blank white space and the lines you make. What I did not like (at least on the iPad version) was not having the freedom to fluidly adjust aspects of the lines easily (thickness, etc), or maybe push things around the space a bit – a minor quibble since you don’t have that freedom IRL either. What was really not great was that if you stopped the sharing session (to take a break or answer a question), it loses all the boards you’ve written so far [Update: I’ve since seen that this is not the case on the desktop/laptop version, but then you might have pen control there.]. That can be a drawback as you often want to go back to that earlier board to clarify a point, recall an equation, etc. I’ll tell you about what I settled on as a better solution below.
- For something a bit more interesting and flexible, you will want to use the screen-sharing option within your zoom app on the tablet (screen broadcasting it is called in iOS, but you find it in the usual “share a screen” area of the app, when you select Zoom as the iPad app that’s doing the sharing – that was a bit confusing at first. [Update: OR, within your desktop or laptop’s Zoom share options, further along from whiteboard, you have the option to select other sources, and the iPad is among the choices*.]) However you do it, you then write in an app that you can use to make marks to share. What app?
- For example, you can screen share and run your favorite pdf annotation program and live mark-up some notes, or a blank page within it. That works pretty well. Or, you can use a drawing program that just gives you a nice blank space and ability to do a variety of lines AND keep hold of what you’ve written over the course of the lecture, to use in case of call-backs.
- Whenever I share even the simplest digital drawing online, people immediately ask about what drawing app I use, as though there’s some magic app that will help you do better drawings. There’s no such app. It largely does not matter. This is even more true for using one to do a lecture online. So I am *not* going to recommend some really fancy drawing apps that I might do if you were planning to do fine art or make a graphic novel, etc. Such programs typically have far more tools than you need, including cluttering the space up with toolbars of those tools you’ll never need, which the students will see too, and which kill useful screen space. Instead you want something simple, with as much real-estate as possible.
- I settled on Paper. No, I’m not joking. I mean the app called Paper. (Made by the WeTransfer people). Why do I like it? Well, as I said, it is simple. You’ve got nearly all the space to play with on the screen that you show, no distractions, and some simple tools – a few pens, an eraser, some colours you can tailor, and some scissors. In fact you can hide everything and just show the colour dippers at the bottom of the screen. (See photo at the top of the post.) That’s really all you need. But there are one really nice other features that make this preferable to other excellent drawing programs, for this purpose of online teaching. Here they are:
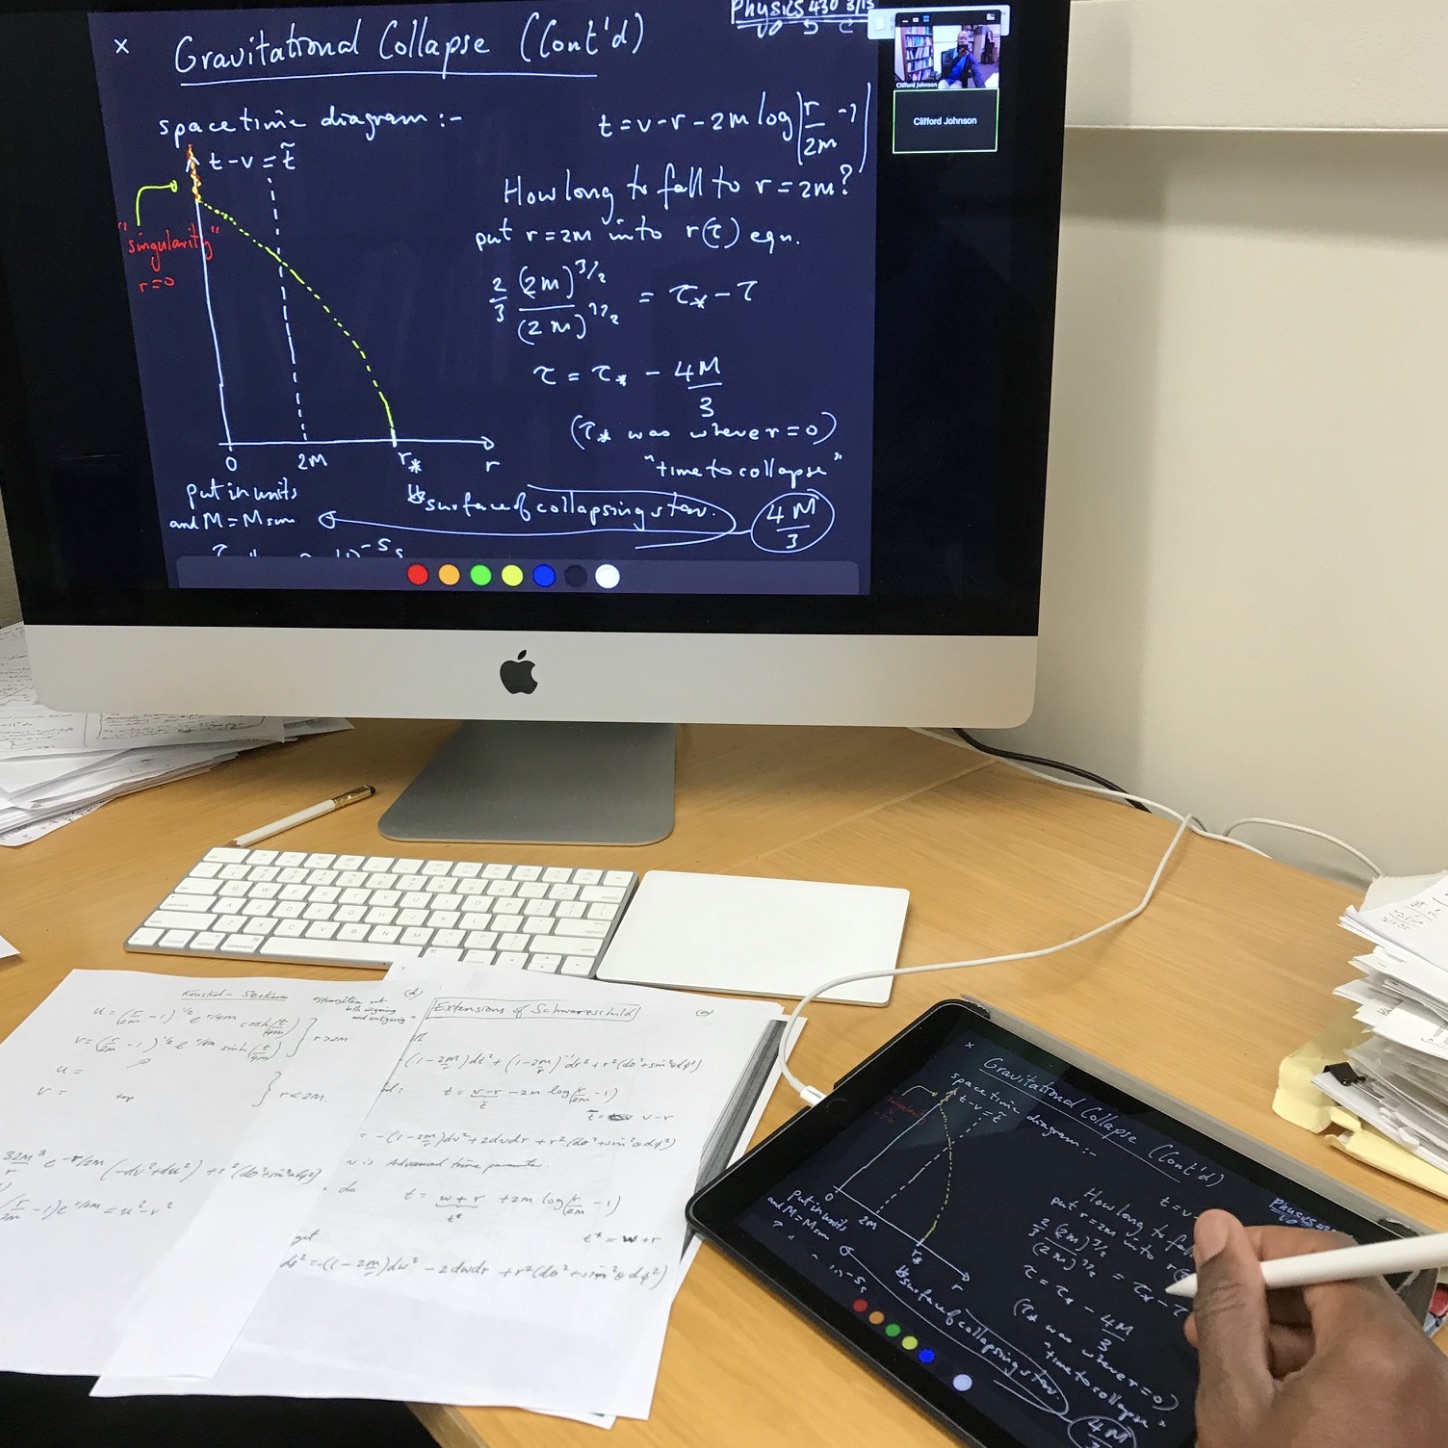
- You just swipe left or right to go to a new page, which I’m now thinking of as a board (in fact, you can see in the picture at the top of this post that I use bright colours on a dark grey background, making it more like a chalkboard). So it is like sliding boards back and forth. (Tip: Just put your finger/pen on to the colour in the toolbar area and slide it on to the space and it puts on that background colour.) (Note, in the picture, the cable for the iPad is for power only (update: but you could use it for direct screen sharing). The screens are common because of Zoom screen broadcast/sharing. What’s on the desktop is what a student sees.)
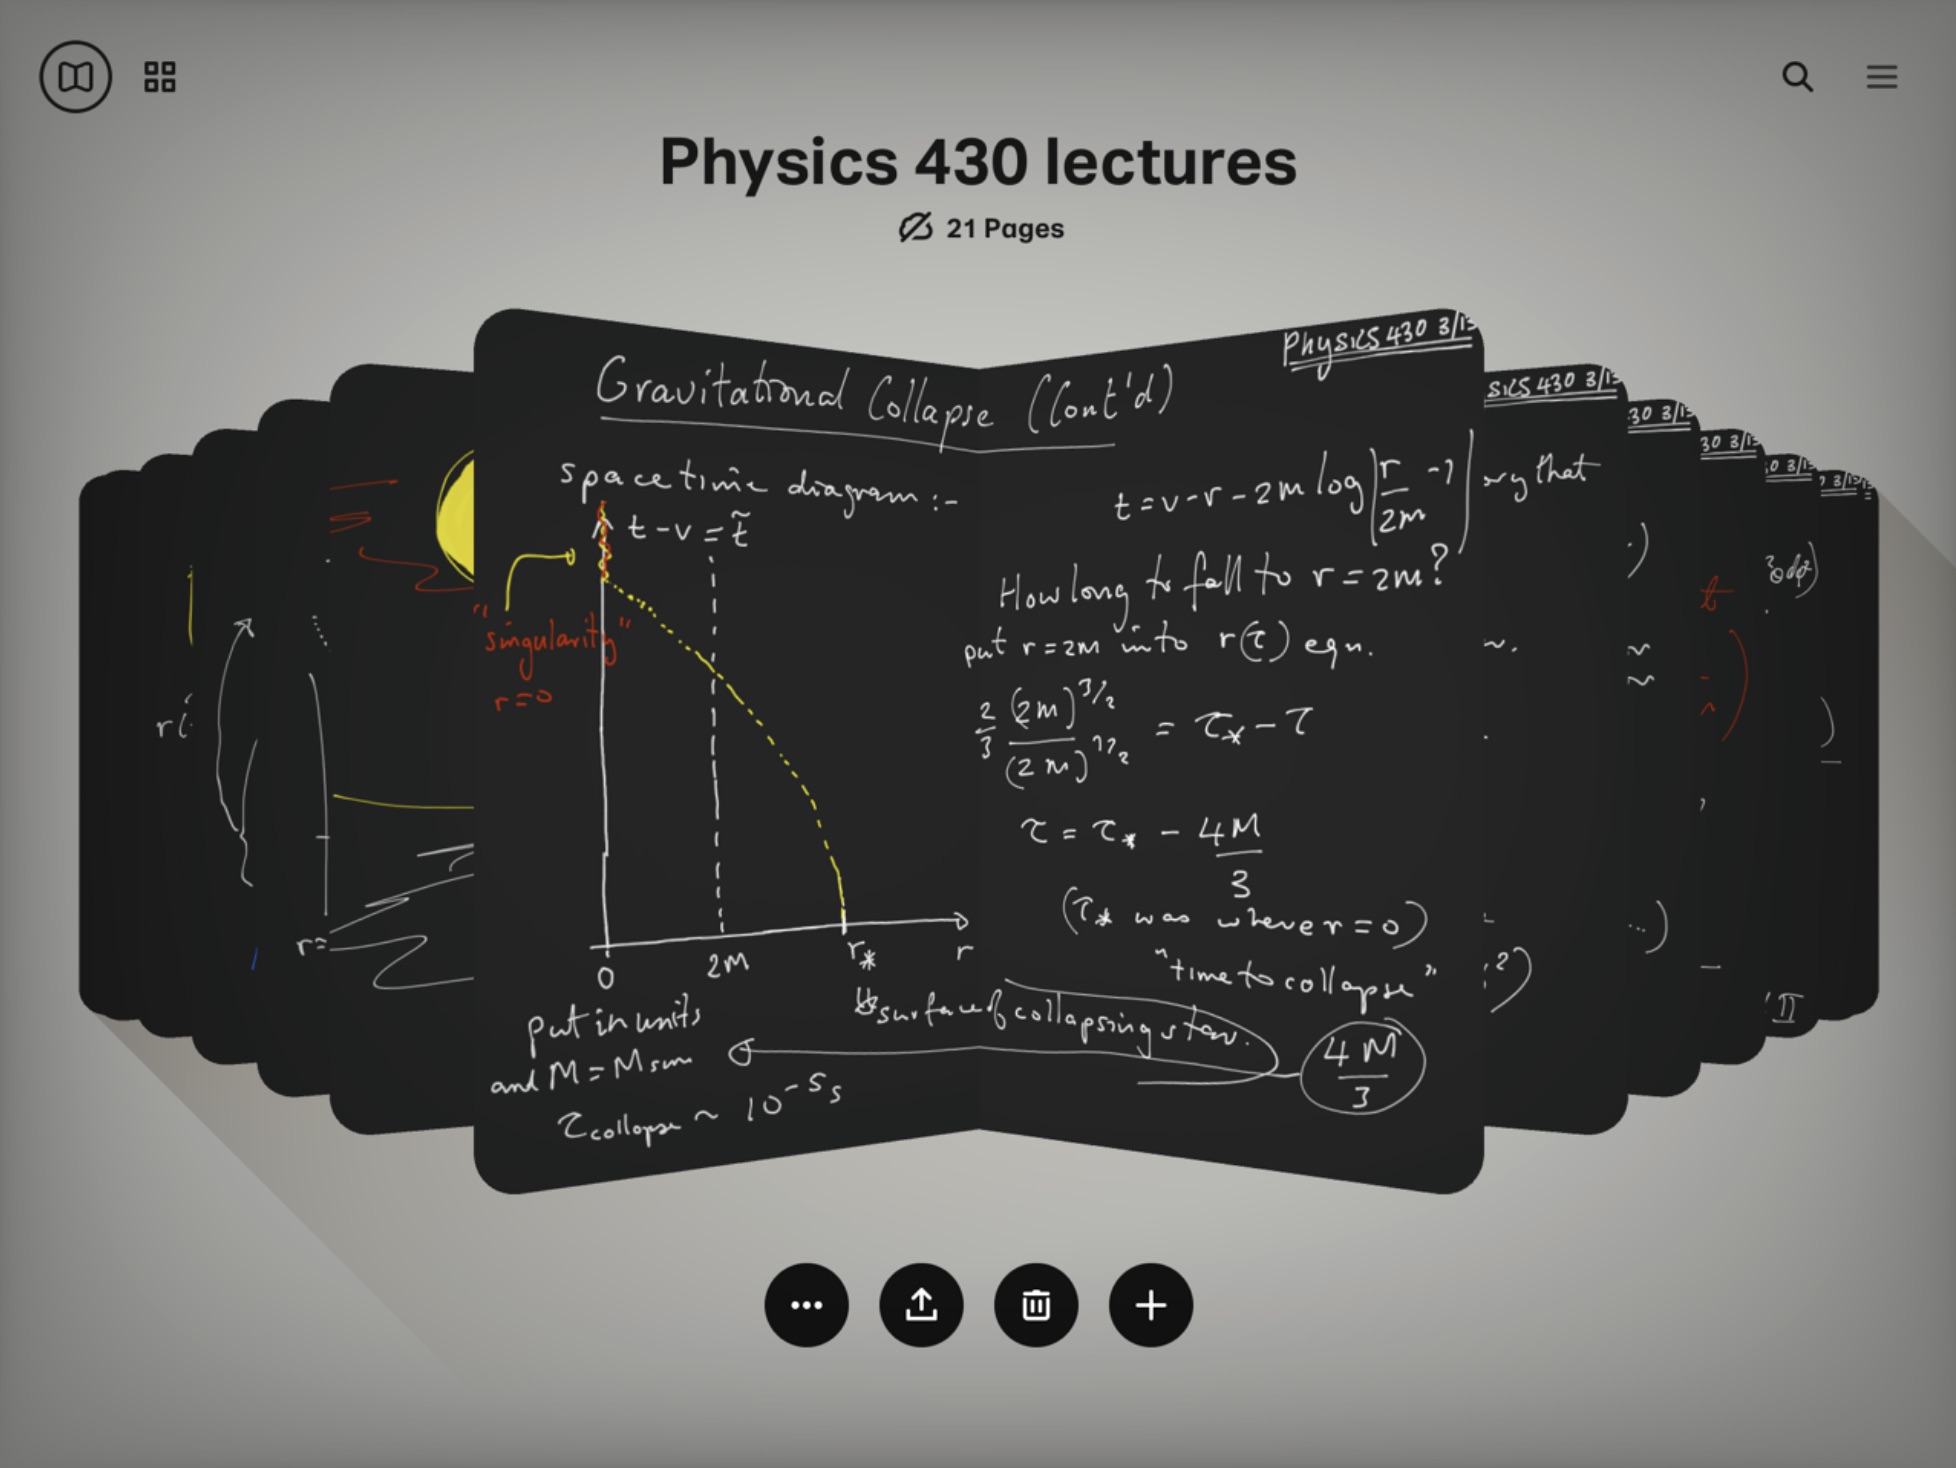
- You can then jump into a grid or pages view where you can see all the boards you’ve made. (Tip: Before class, I made one board in the notebook with the background I wanted, and the date in the right hand corner, and then I made a ton of duplicates, ready for my class. You can easily figure out how to do the duplicating by playing for a while.)
- You can save and export all your boards for use elsewhere if you wanted to. And as usual you can back them up and so forth to the cloud, etc.
- The scissors was a great thing to have. Today I was able to compare two separate equations (the time it takes to fall into a black hole using different frames of reference) that were derived on different boards rather quickly by just going to one, clipping a copy of it out with the scissors, and moving it next to the other one on a later board. Nice!
- Most importantly, you’ve not got that annoying issue with Zoom’s whiteboard (at least on the iPad version) where it forgets all your boards if you interrupt the share, as you will if you take questions, show something in another app, etc.
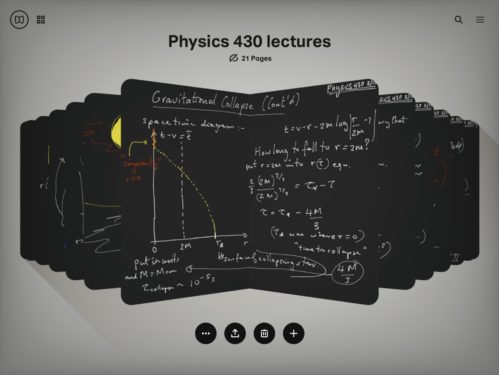
Pages view in Paper showing the boards from my class today. Actually grid view is more useful for an overview while teaching…
- There’s more to say, but let me talk finally here about my overall preferred setup. I actually have two copies of myself logged into the meeting/class. One is my laptop or desktop with the camera running, and maybe the audio. Perhaps with wireless headphones if you want. The students can see me in that window and I can see them, maintaining that eye contact that is so useful to make you feel like you have an audience. The other is my iPad, from which (as co-host) I can share its screen (turn off all your notifications and so forth!) and use it as the chalkboard. You can run it all from one device, of course, but I found separating the tasks like this to be helpful (as a result of my online seminar experiment earlier in the week). [Update: This choice does take up more bandwidth, however, which could be an issue at home, so running one desktop or laptop with Zoom and connecting the iPad to it and sharing its screen (look in the Zoom share options*) through the same session is perhaps a better alternative. You can actually then pop out the gallery of faces and chat windows, etc., (play with the Zoom layout options a bit) and push them over to a second monitor if you have one, if you need room to see everything.]
- Well, that’s all. I’m really liking this, and in fact am beginning to wonder if I might not actually keep using Paper for lectures even if I’m not doing an online class! Especially if I am in a room with no real chalkboards. Being able to refer to things I wrote arbitrarily many boards back is great, as is having a big supply of colours, and the ability to cut and paste fast to move things around.
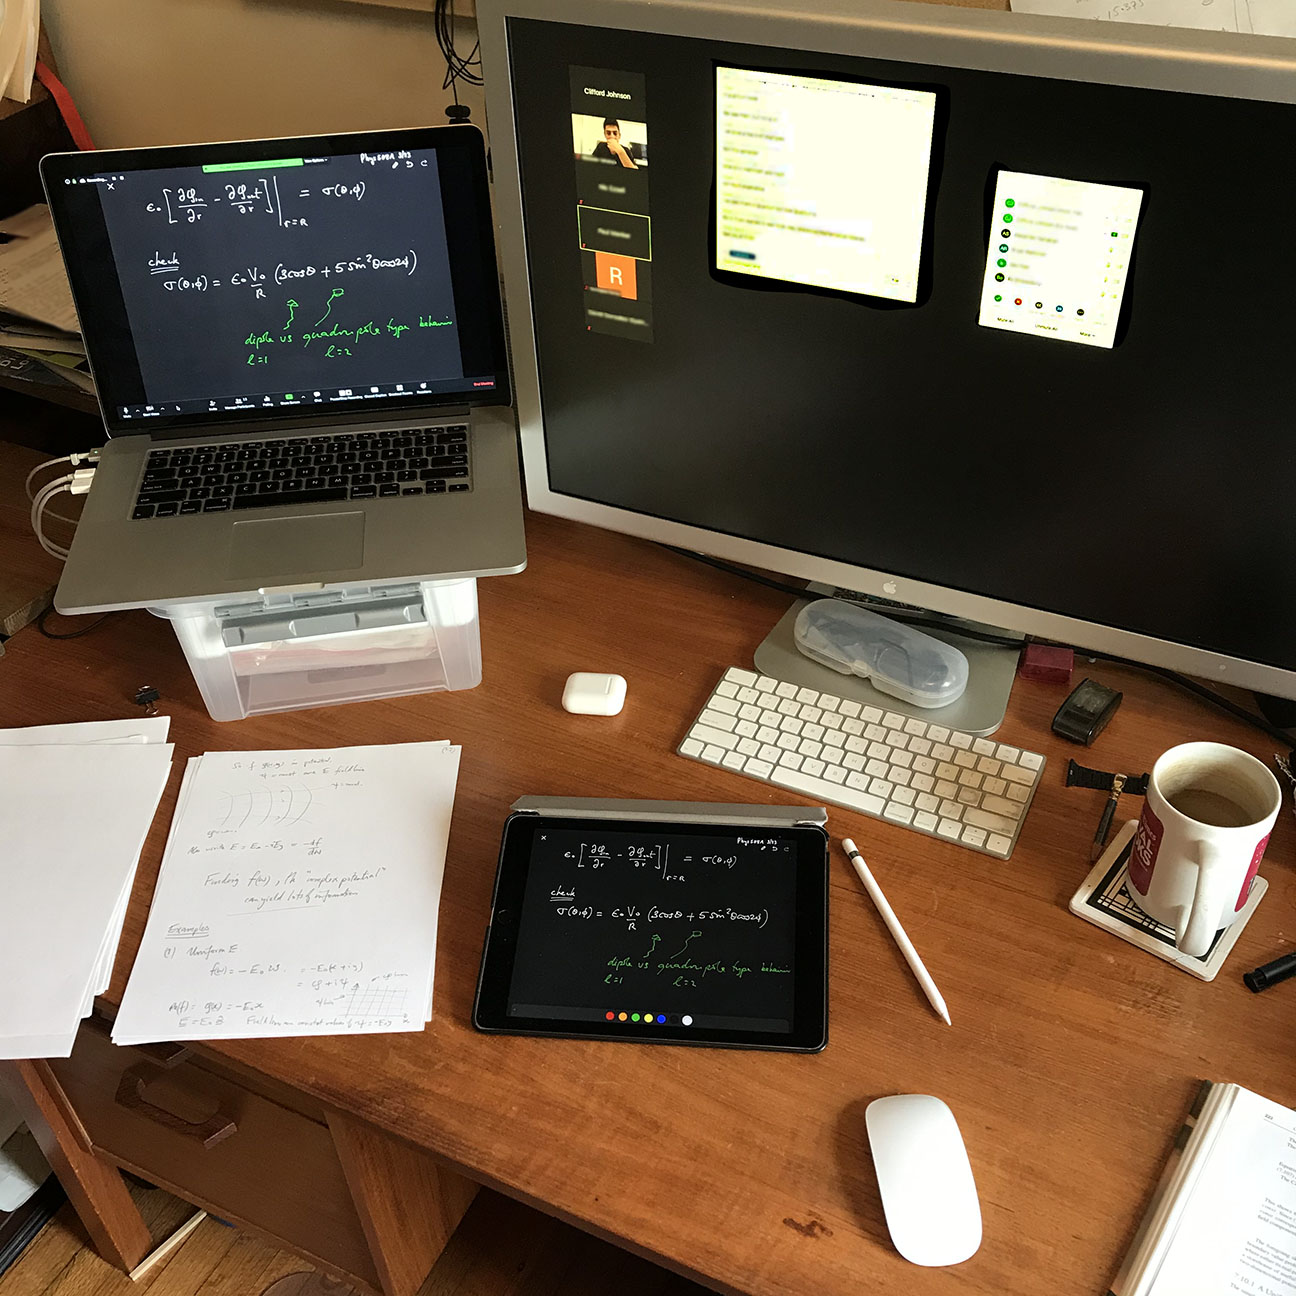
Home office online teaching setup. Monitor has chat windows and video from the students. Laptop has the camera, and chalkboard that they see.
Anyway, I’ll stop here and maybe update with more information from time to time if I see fit.
Good luck with your own classes! Feel free to comment and share your own setup, or ask questions, discuss, etc.
–cvj
*I learned about the extra features of iPad screen sharing directly through your laptop’s Zoom session (instead of by joining the session with the iPad and sharing through iOS) by reading Flip Tanedo’s document about his own setup (he uses Notability instead of Paper), which he generously implied was inspired a bit by this post… so lots of positive feedback sharing loops!

Pingback: Network Improvements | Asymptotia
Hi,
It is certainly possible to have all participants annotate on a common Zoom whiteboard. If a student wanted to ask a question and write something they could share from their own whiteboard, and invite others to write on it. What I’m doing is sharing an iPad screen, which is something different. I do not think (I could be wrong) that there is some way of a student writing on that remotely. But you can simply enable them to use their own board to scribble on.
Cheers,
-cvj
Can the students write on the board when they ask a question?
I’ve got a very similar setup and am quite happy with the results. OneNote running on a Surface Pro shared to my Macbook Pro which is hosting and recording via Zoom.
I totally agree about the importance of “chalk and talk”!
Paul Skrzypczyk – Thanks! Glad you found it useful. No I think that paper only has the horizontal swipe. I can see that the “infinite board” model of GoodNotes might be preferable to some. I’m weirdly old-fashioned and like it being broken into discrete boards, as though I’m still in a classroom. I’m not sure why, I just like it. Perhaps nothing more than a sentimental link to the analogue world…? (As for recording lectures, yes it is good to be able to do since many students are now in different timezones since we closed campus. Personally I don’t like the idea of routinely having recordings available. I feel it dilutes the live event in terms of the students’ feeling of urgency to really be there in the moment. But maybe the benefits outweigh the drawbacks. Not sure.)
Good luck with your lecturing! –cvj
This is a fantastic post, thank you for writing this up! This is precisely the kind of information sharing that is going to prove so useful for many people.
Do you know if in Paper you can change the scrolling direction from left-right to vertical?
I taught a course on an iPad before Christmas, using it as a digital blackboard, just as you have here (but in the lecture theatre). I’m convinced that I won’t be going back to a blackboard anytime soon, for many of the reasons you gave above, so I’ll be interested to see if you do end up using the iPad for all your teaching in the future. For me, the additional reason for switching is that at my institution (Uni. Bristol, UK), all lectures are recorded and given to the students in a re-play service — except blackboard lectures (where only audio is recorded, which is not really useful). Using the iPad as a digital blackboard got around this, and so gives them the benefits of the blackboard, exactly as you put it, but also the benefits of being able to watch a second time.
Going back to my question – I used GoodNotes and I found the vertical scrolling feature to be a small change that was really useful. It meant I had essentially a continuous board, and so didn’t have those moments where I ended up with a blank board, which I ended up with using horizontal scrolling, which I found difficult to deal with, especially for students who were making notes in the lecture. Vertical scrolling meant I could always keep the last ~5 mins visible.
Really glad it is helpful. Thanks for sharing it too!
This is a key point, super helpful:
“ I actually have two copies of myself logged into the meeting/class. One is my laptop or desktop with the camera running, and maybe the audio. Perhaps with wireless headphones if you want. The students can see me in that window and I can see them, maintaining that eye contact that is so useful to make you feel like you have an audience. The other is my iPad, from which (as co-host) I can share its screen (turn off all your notifications and so forth!) and use it as the chalkboard.“
This is helpful, thanks, Clifford! I’m teaching online for the first time this coming week. Sharing this with others, too.
Great minds think alike, they used to say! (although I suspect the opposite is more likely true.)
I am glad to see that you came up with almost exactly the set up (zoom on both laptop for video plus screen an iPad in note taking mode, I would probably use notability which I also use to take notes in seminars etc) that Ian planning to use.